How I Created this Blog
— Kaushal ModiI have been toying with the idea to use hugo as my static web site generator for few weeks now. And then the news of its version 0.17 release are announced, and hugo shows up on Hacker News once again.
Somehow while browsing through the comments on HN, I end up on Gitlab Pages, and there I read:
While you can create a project from scratch, let’s keep it simple and fork one of your favorite example projects to get a quick start. GitLab Pages works with any (emphasis mine) static site generator.
From there I navigate to the Example projects for various static site generators and Hugo is one of them!
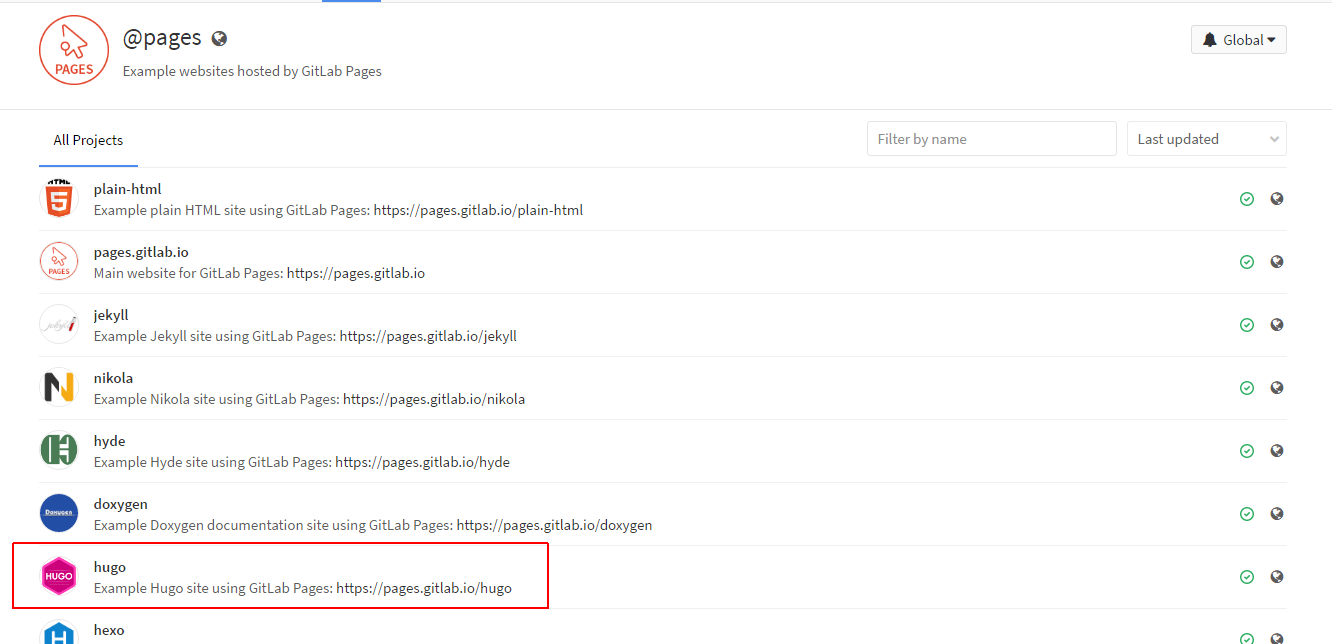
So then I proceed to the hugo example, and then proceed through the following steps to get my own Gitlab Page running!
- Fork the
hugoexample - In the fork’s Settings (Gear icon) > Runners, I ensure that shared runners are enabled. These runners are what rebuild my static web page each time I update the content/site configuration.
- In Settings > Edit Project,
- Navigate to Rename repository section and change the fields in Project name and Path to
NAMESPACE.gitlab.iowhere NAMESPACE is your gitlab username. - Navigate further down in the same page and remove the forking relationship (optional).
- Navigate to Rename repository section and change the fields in Project name and Path to
- In
config.toml, change thisbaseurlline, from"https://pages.gitlab.io/hugo/"to"https://NAMESPACE.gitlab.io"where NAMESPACE is your gitlab username. Then commit and push those changes.
Within few minutes when the shared runner finished building the site, my site was available on https://kaushalmodi.gitlab.io.
The source repo for this site is here.
Port from Octopress #
After setting up Gitlab and hugo CI, it was then pretty straightforward to port in my very old posts from my Octopress blog.
Tweaking the Gitlab CI configuration script #
I tweaked the Gitlab provided .gitlab-ci.yml to achieve two things:
- Use the latest
hugorelease as of today (version 0.17) - Use Pygments for syntax highlighting.
So below was the result:
image: alpine:3.4

before_script:
  - apk update && apk add openssl
  # Install Pygments for syntax highlighting
  # https://gitlab.com/gitlab-com/support-forum/issues/1150#note_16763556
  - apk add py-pygments
  - wget https://github.com/spf13/hugo/releases/download/v0.17/hugo_0.17_Linux-64bit.tar.gz
  - echo "6a74626b64434a5ee9fc5ec4fbf22ce6  hugo_0.17_Linux-64bit.tar.gz" | md5sum -c
  - tar xf hugo_0.17_Linux-64bit.tar.gz && cp ./hugo_0.17_linux_amd64/hugo_0.17_linux_amd64 /usr/bin/hugo
  - hugo version

test:
  script:
  - hugo
  except:
  - master

pages:
  script:
  - hugo
  artifacts:
    paths:
    - public
  only:
  - master
In order to make hugo use Pygments, you need to put the below in your config.toml:
pygmentsStyle = "trac" # This is just the Pygments theme I like
pygmentsCodeFences = true